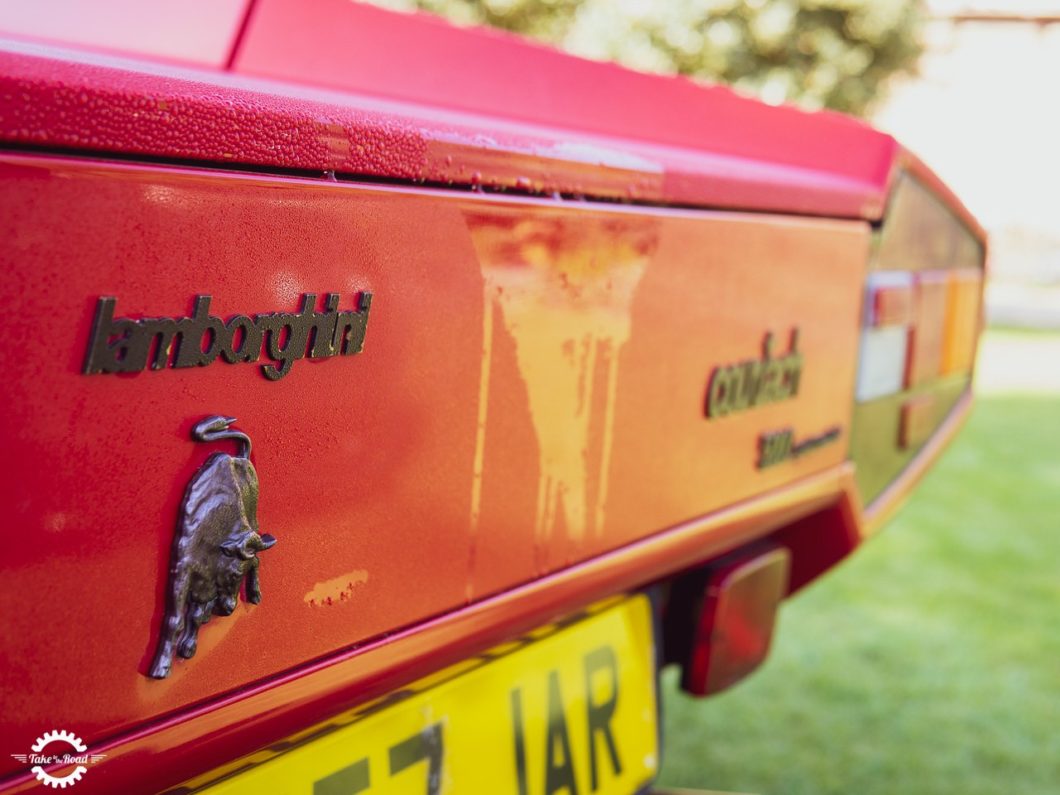
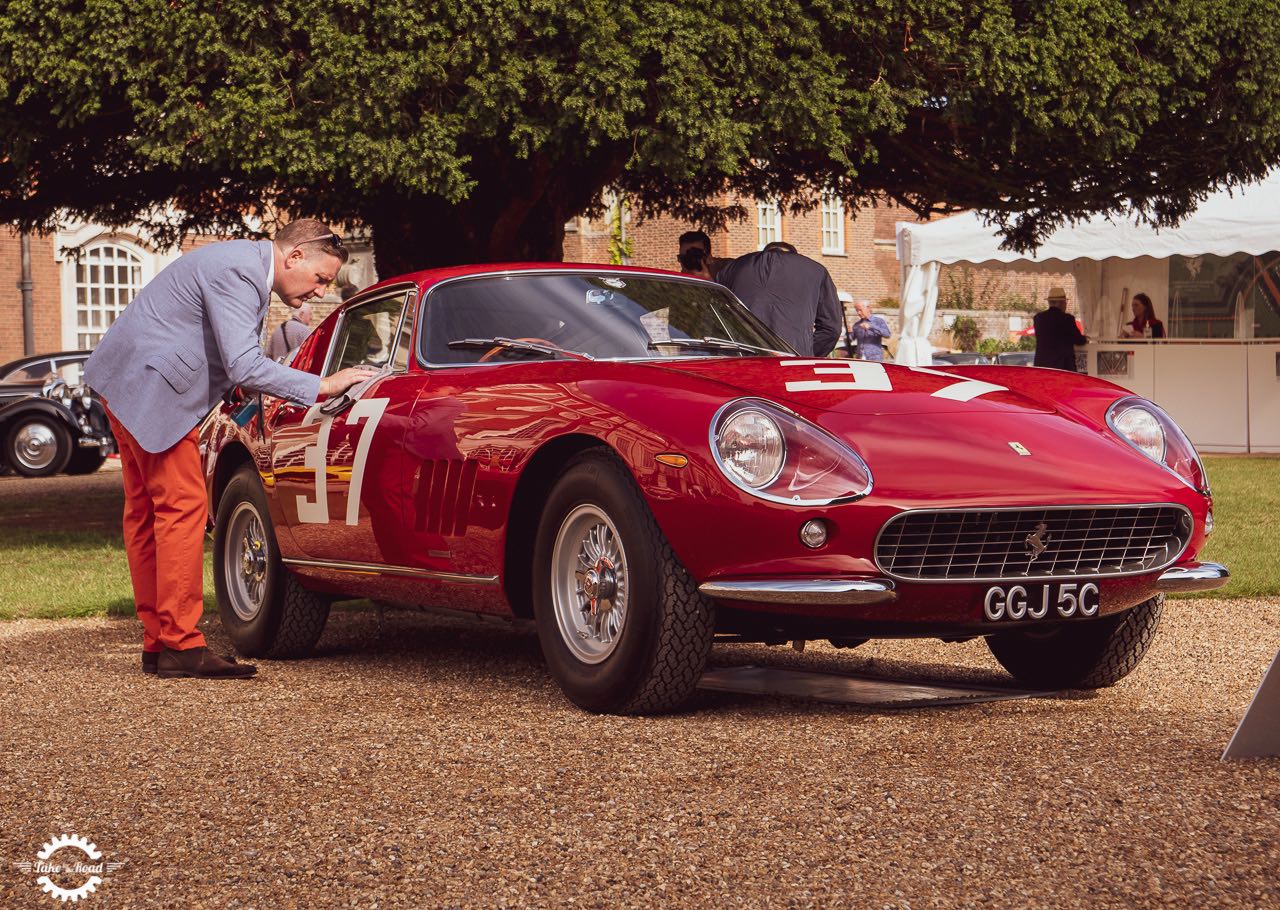
While cleaning the car is a chore for many people, detailing a classic car is an entirely different experience and a point of pride for owners of historic vehicles.
While most car owners will only clean their car once every 11 weeks because they just can’t find the time, classic car owners make the time to give their vehicle the care and attention it deserves.
While this may be a great option for some, not everyone has the time to clean their car that regularly. For those with busy schedules, they may consider looking at https://www.andrewsautocare.net/ to find expert car detailing services near them, instead. This keeps the car in great condition, even if they don’t have the time to take care of it themselves.
Detailing a classic car is a completely different process from cleaning a regular car, and it requires more precision, specialised products and equipment. You can easily damage a classic car by using the wrong tools, products and methods, and repairs can cost a pretty penny.
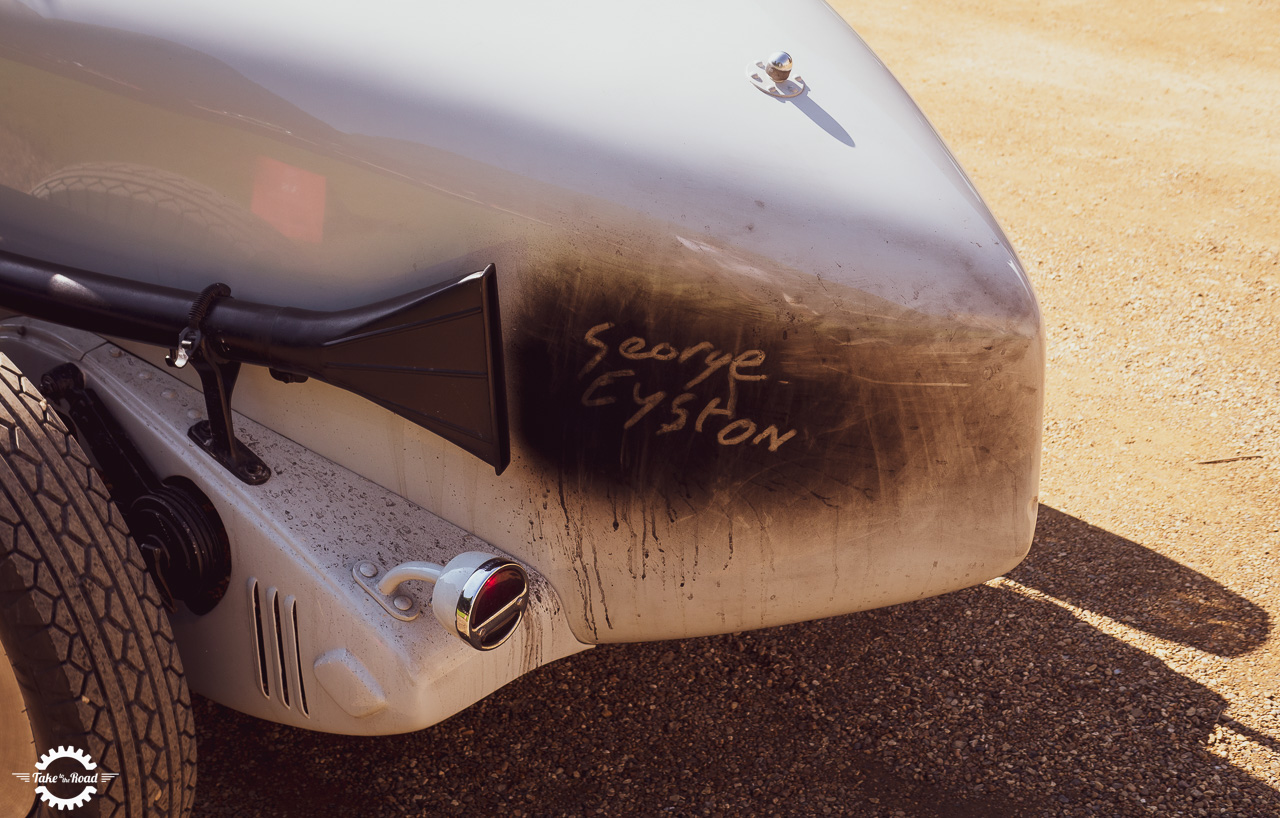
Preparing to detail your classic car
If you’re preparing to detail your classic car, it’s not just a case of grabbing a bucket and sponge, like so many do for regular vehicles. You’ll need to make sure you’ve got all the right car detailing products to do the job correctly. You’re going to need:
- Wash mitts
- Two buckets (one for washing, one for rinsing)
- Microfibre towels
- Shampoo
- Polish
- Wax
- Clay bar kit
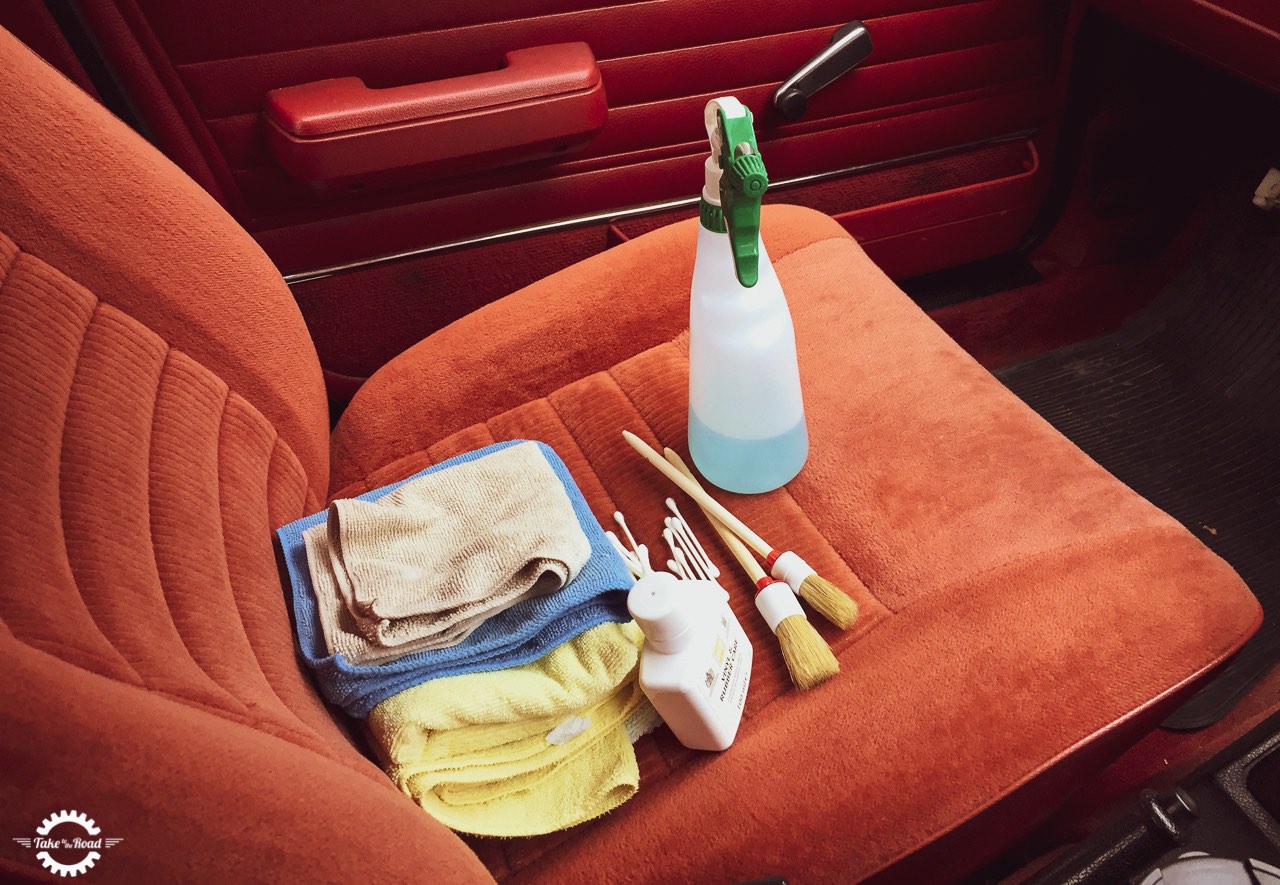
You’ll also need to make sure that you’ve got a vacuum cleaner handy and some professional interior cleaners for when you come to detailing the inside of your car.
Detailing the outside of your classic car
Now that you’ve got everything you need, you can get started with cleaning the exterior of your classic motor. There are some crucial rules to follow when you’re cleaning a classic car that aren’t immediately obvious, such as:
- Keep your car in the shade while you’re cleaning it — Cleaning your car in the sun will result in streaks and spots on the paintwork because the sun causes the shampoo to evaporate too quickly.
- Always handwash your classic car — Classic cars require care and attention that car wash machines just can’t provide. Plus, there’s a significant risk that you can damage your vehicle with machines.
- Top-down washing — Start cleaning your car at the top and work your way down. If you do it the other way around, you’ll end up with dirt from the top of the car getting on the parts you’ve already cleaned.
Once you’ve found yourself a nice shady spot to start cleaning your car, you can get going with the detailing. There are four main steps to detailing the exterior of your classic car.
Step 1 — Prewashing
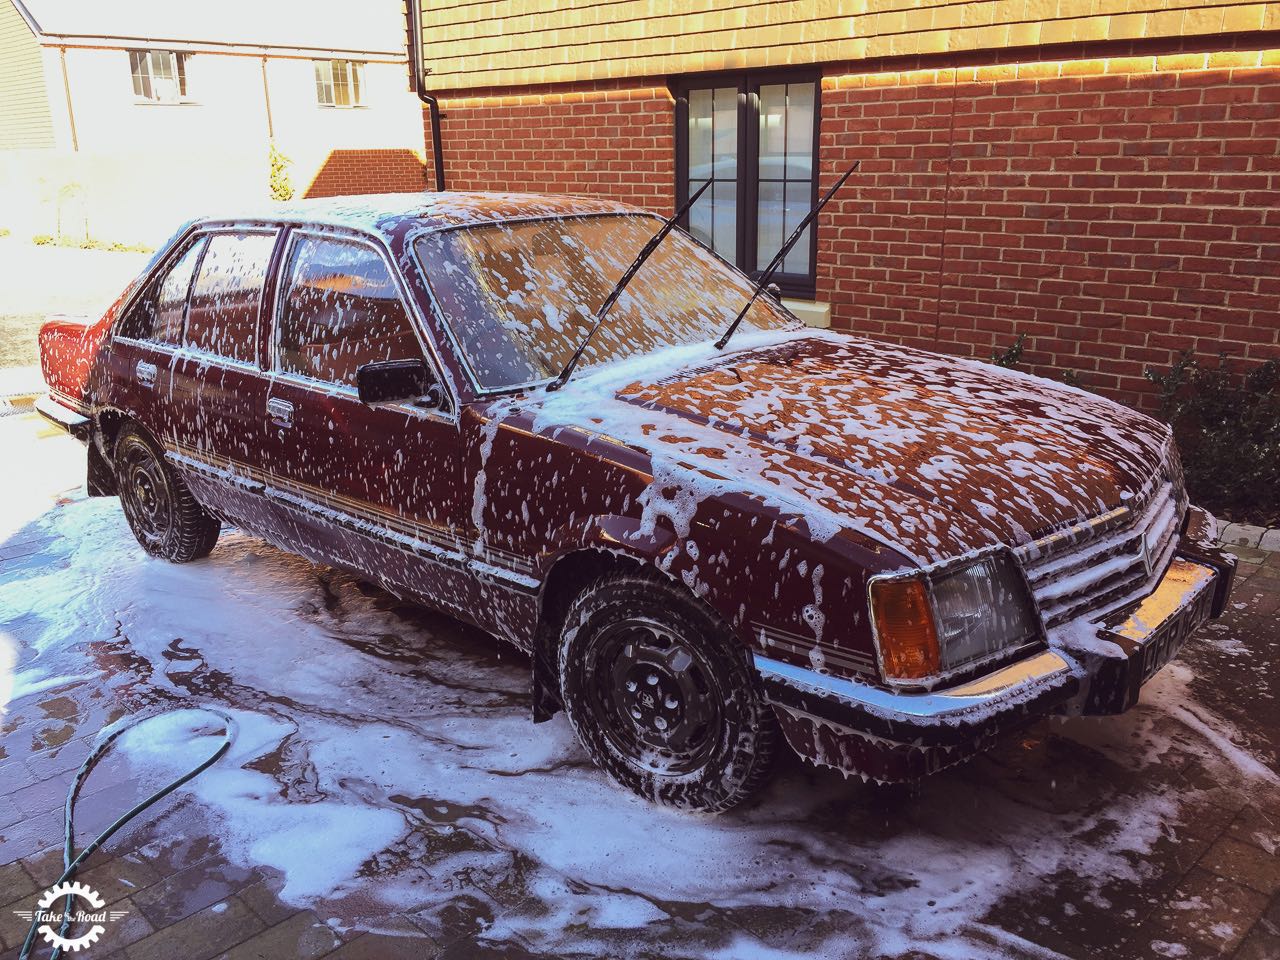
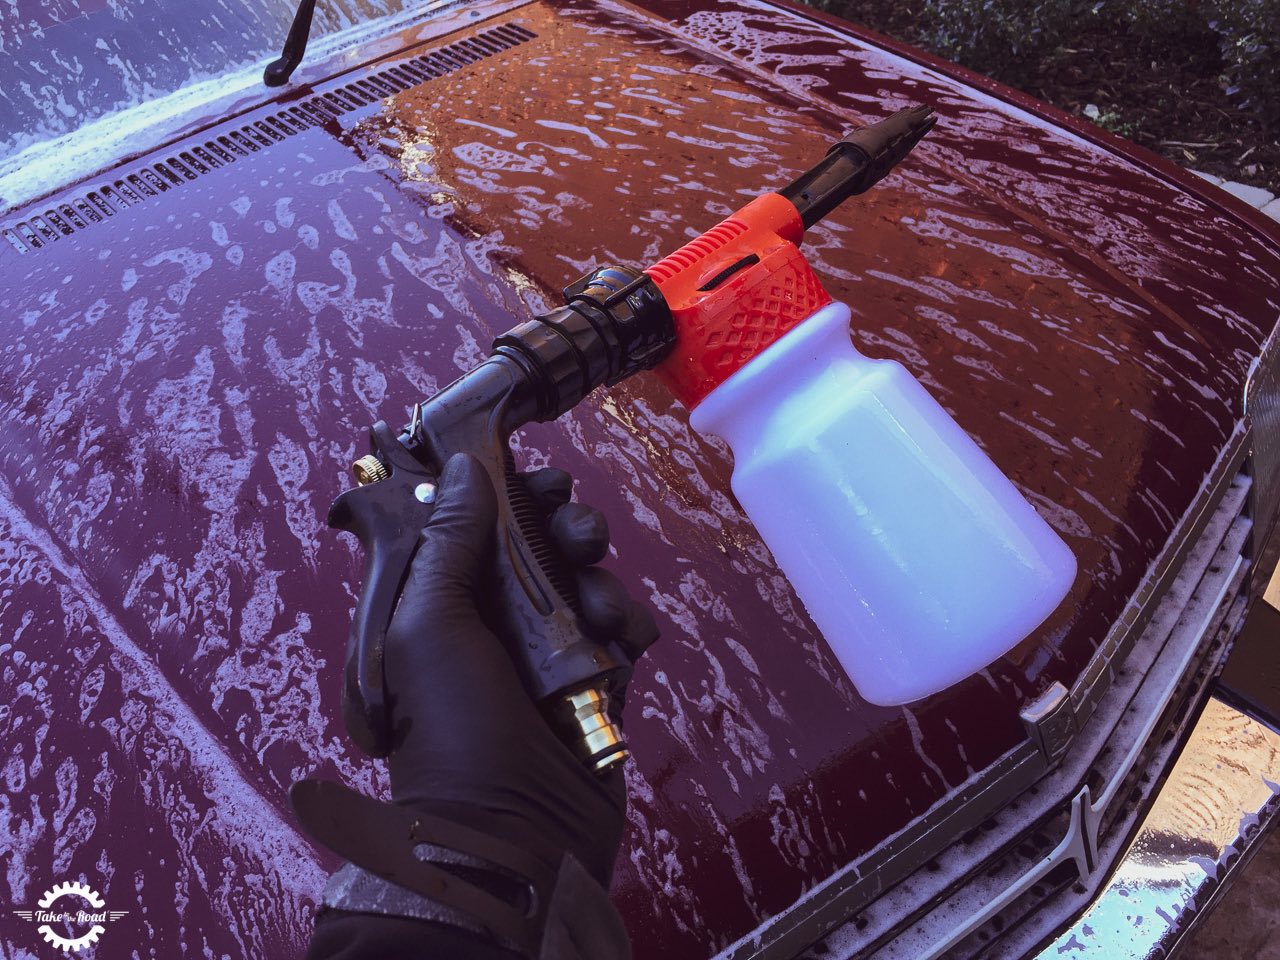
This is a relatively new concept in car detailing, but it works wonders to remove any loose dust, dirt and grime. To apply a prewash, you can use a hose or pressure washer. You can also use snow foam; applying a thick layer of foam to the car will lift the more stubborn dirt.
Always be careful using a pressure washer with a classic car as old window seals may not be watertight. Use light pressure rather than using the jet at full pressure.
Step 2 — Contact Washing
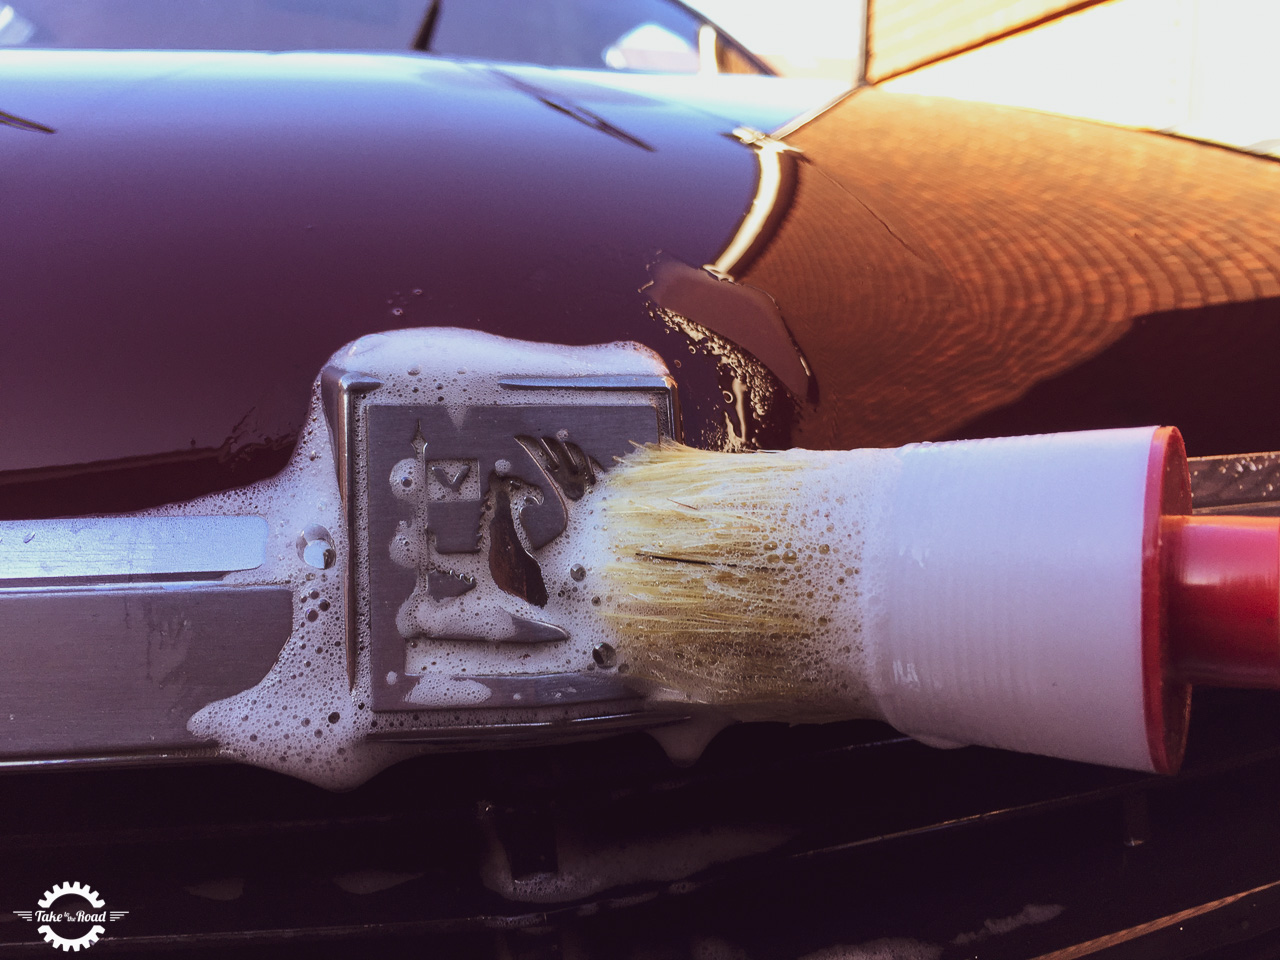
Once you’ve removed all of the loose dust and grime with the prewash, you can get your buckets and wash mitts out. Using the two bucket method as it’s known, with one bucket for washing and one for rinsing, means you can prevent any unwanted scratches from dirt trapped in your cleaning mitt. Always use a grit guard at the bottom of you buckets, which reduces the risk of picking up debris from the bottom of the bucket..
Make sure you get plenty of soap on your wash mitts and use a different mitt for your wheels. And don’t forget to clean the mirrors, door handles and door sills.
Step 3 — Decontaminating

The prewash and contact washing will remove a lot of the grime, but road salt, bugs and dirt can contaminate your paintwork. So you’ll need to carry out a clay bar treatment to decontaminate. This process can take a while, as you need to use water and work on small areas of the panels at a time. But it’s well worth the effort. The paint will not only look clean but it will be smoother to the touch as well.
Make sure you get a fine clay bar for your classic car, as a more abrasive bar could easily damage your paintwork and undo all of your hard work.
Step 4 — Polishing and Waxing
The final stage is polishing and waxing and will give your classic car a mind-blowing shine and have people pointing wide-eyed at you as you drive around town.
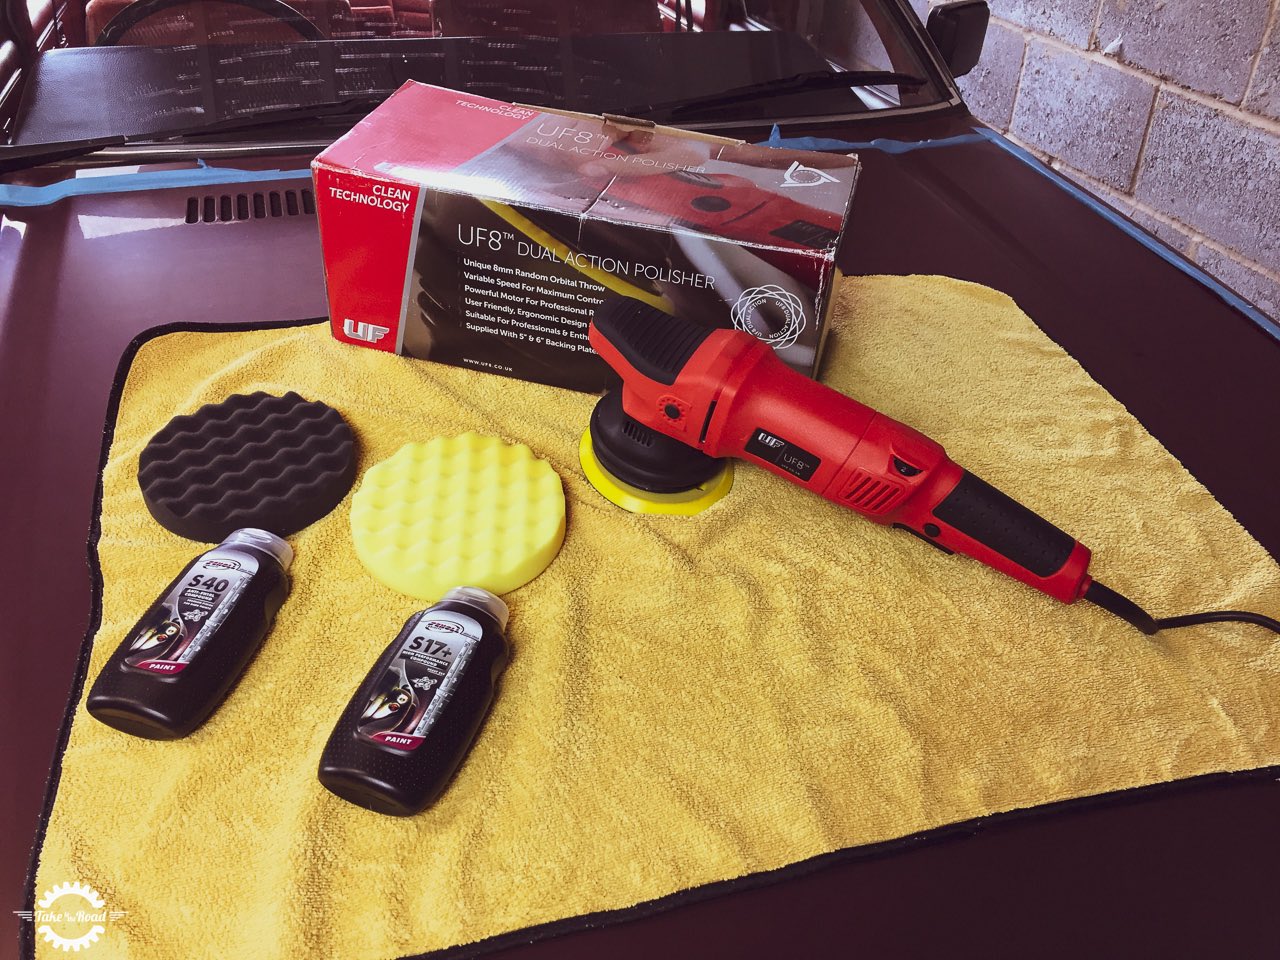
You’ll need to apply the polish first, which will start the shining process and protect your car from dirt. Once the polishing is complete, you can seal all of your hard work with wax. If you’ve got chrome on your classic car, be sure to give that a good polish as well.
You mustn’t use an electric polisher for a vintage vehicle as it can quickly burn away or remove the base layer of paint. If you have to use a machine polisher, make sure you set a low speed and don’t apply too much pressure.
Detailing the inside of your Classic Car
There’s no point in having a spotless exterior of a classic car if the interior doesn’t match. Fortunately, cleaning the inside of a vintage car doesn’t take as long as the outside.
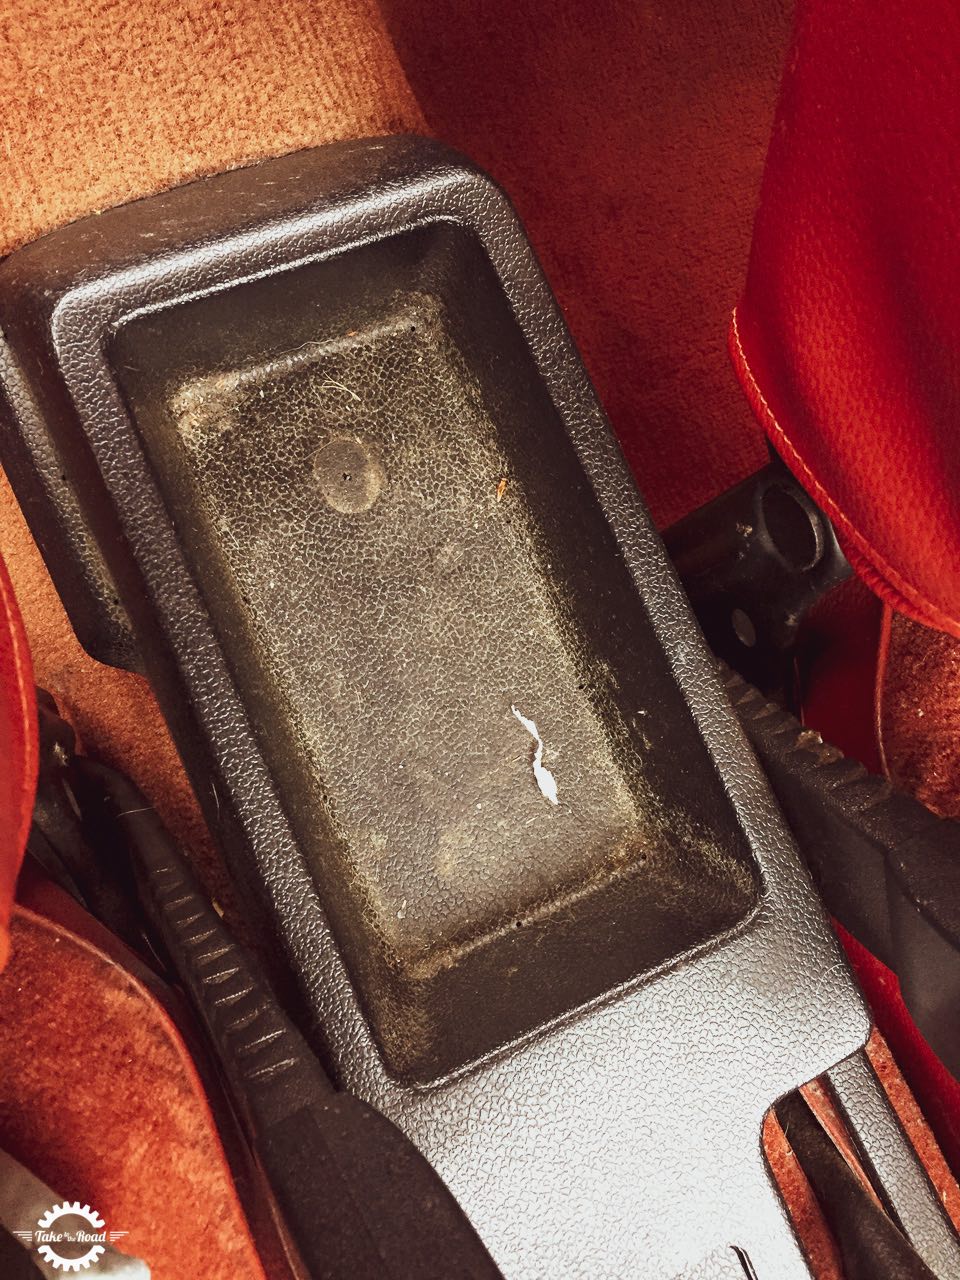
Start by removing any rubbish you might have in the car and then give the car a good vacuum. Once you’ve put the hoover away, you can clean the dashboard, seats and windows.
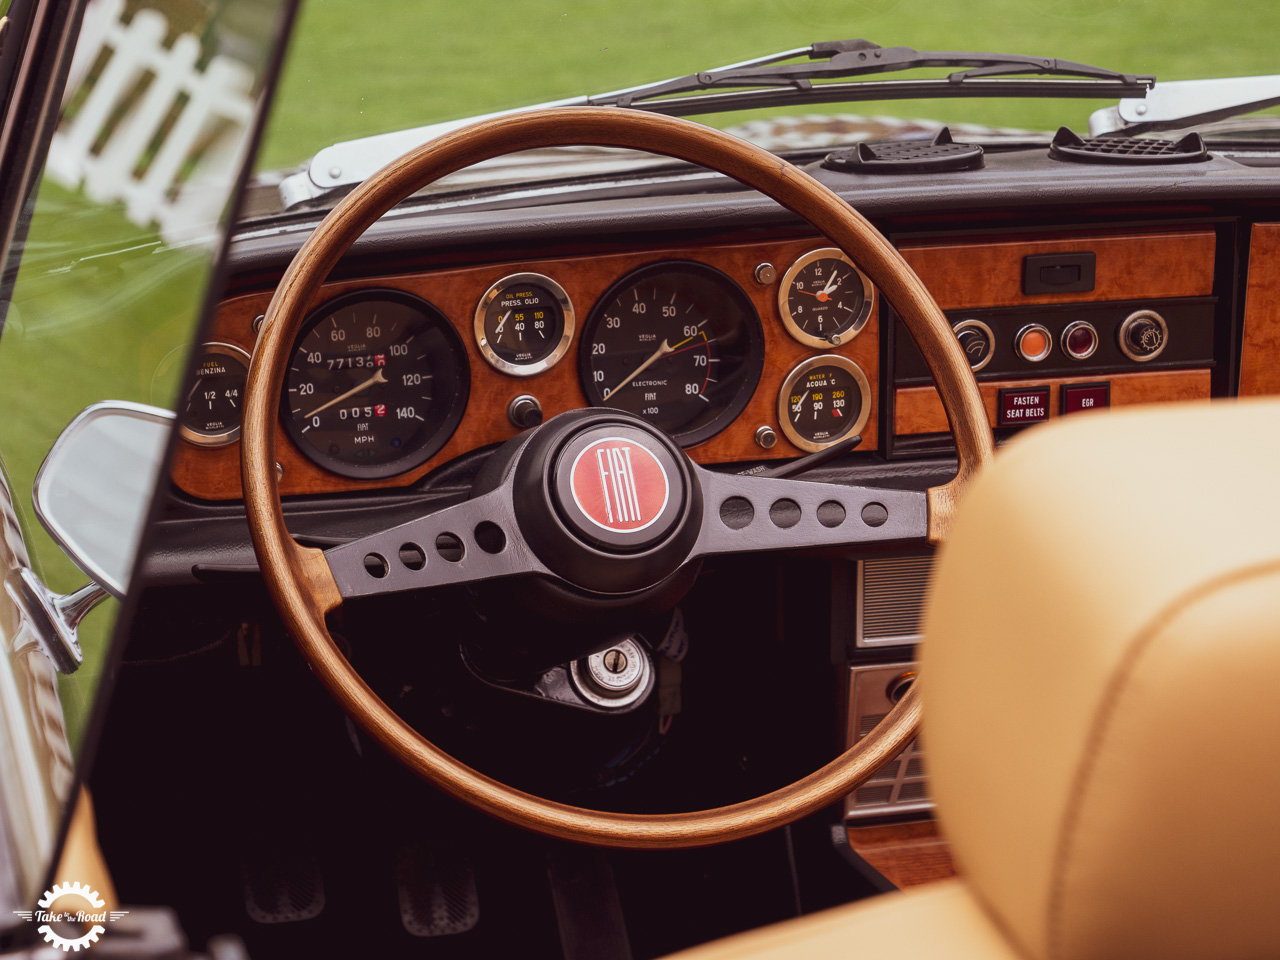
When cleaning the interior, take your time and make sure you don’t miss anything. It’s also essential to use specialist detailing products rather than household products. While a household window cleaner might work wonders for your home, you’ll need a glass cleaner for your car that doesn’t leave streaks. The same applies to fabric, leather and general-purpose cleaners.
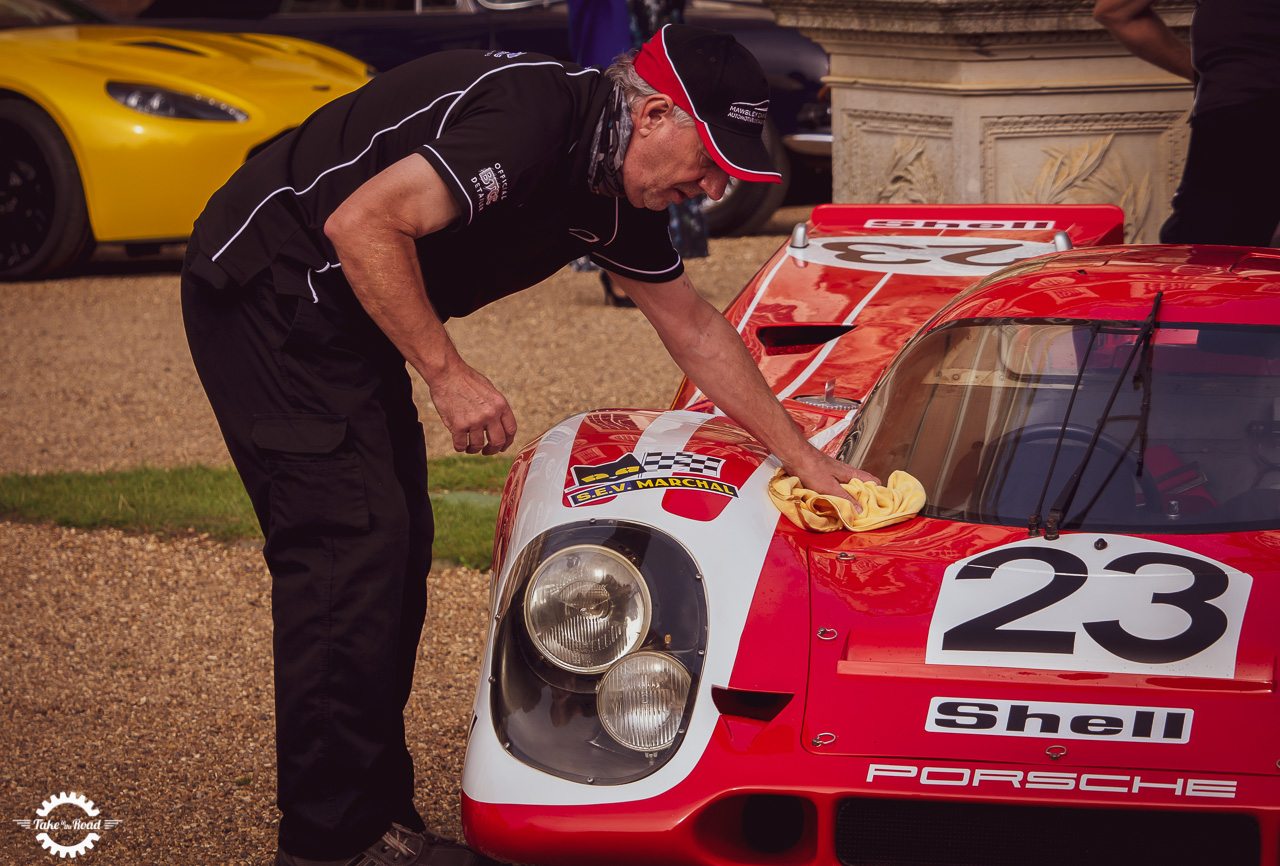
And there you have it, a sparkling classic car both inside and out. If you’re feeling like adding something vintage to your newly detailed vehicle, why not go for a classic UK car accessory like a pair of dice hanging from the rear view mirror? Or if that doesn’t suit your style or the look of your classic, just take it out for a nice cruise. Just don’t drive into any dirty puddles.
This is a Take to the Road Collaborated Post

