
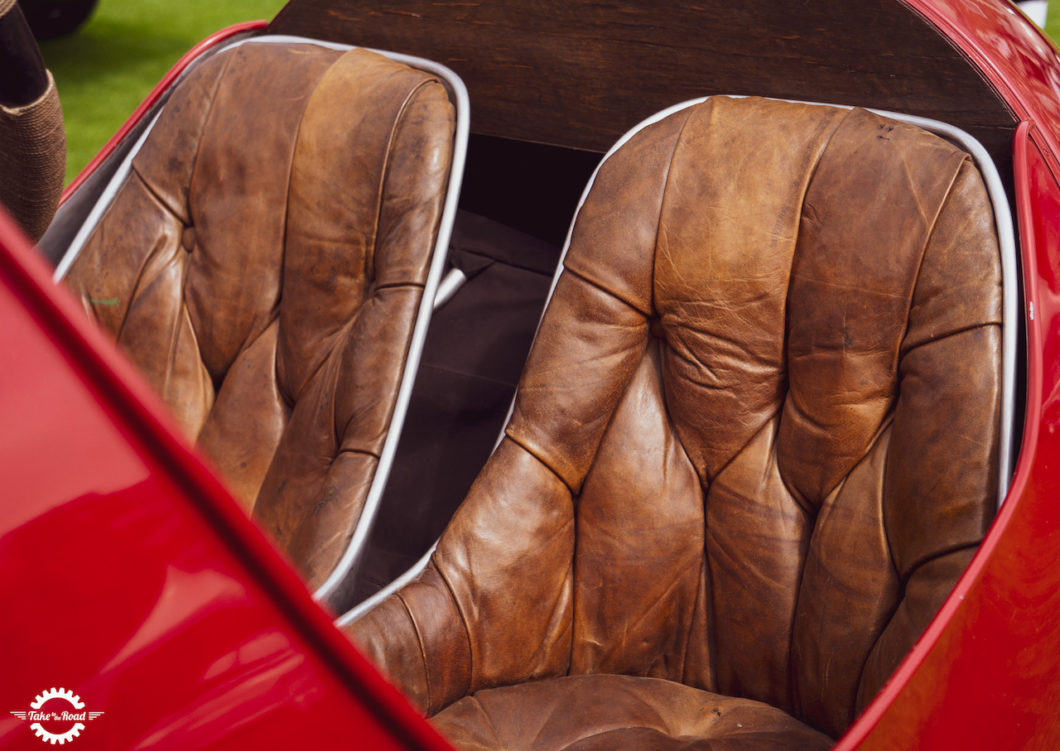
A well-built seat can transform how a classic car feels on the road, even when the finished upholstery looks completely original. Old foam often collapses unevenly, leaving the driver sitting too low or leaning towards one side. Replacing it gives you a chance to restore the intended shape while improving support for longer trips. The key is matching the foam’s firmness, thickness and structure to the seat frame, the cabin space and the way you plan to use the car.
Start with the existing seat
Remove the seat and inspect it carefully before ordering materials. Photograph each stage of disassembly and mark the position of listing wires, clips and seams. A practical guide to seat upholstery can help you understand how the cover, foam and supporting frame fit together.
Check the springs or webbing before blaming every problem on tired foam. A broken spring can create a hollow that new material won’t correct. Look for rust, sharp edges and loose joints too. If the existing foam remains largely intact, keep it as a template. Even damaged sections can reveal the original height, contours and attachment points.

Match firmness to the way you drive
Foam density and firmness describe different properties. Density relates to the amount of material within the foam and can indicate durability, while firmness describes how readily it compresses. A dense foam can still have a relatively soft feel, so don’t select a product based on a single figure.
For a seat base that carries most of your weight, medium-firm or firm furniture foam cut to the required size is usually a sensible starting point. A softer grade may suit the backrest or a thin comfort layer over the main cushion. Ask for a sample if possible. Pressing a small piece by hand won’t replicate the feel of sitting on a full cushion, but it can help you rule out material that feels immediately too soft or too rigid.
Build support in layers
Many classic seats work best with more than one foam layer. A supportive core keeps the occupant at the correct height, while a thinner, softer top layer smooths the surface and reduces pressure around the hips and thighs. Bond the layers with an adhesive specifically suitable for foam, following the ventilation and drying instructions.
Shape the edges gradually with an electric carving knife or a specialist foam cutter. Take off small amounts and test the fit often. Rounded front edges help prevent the cover from looking stretched or angular. If the original seat has bolsters, build them as separate pieces before blending the joins. Symmetry matters, so make a card template and reverse it for the opposite side.
Allow for covers and cabin space
Test the uncovered cushion in the car before fitting the final trim. Sit in your usual driving position and check your view through the windscreen, leg clearance and access to the controls. An extra 25 mm of foam can noticeably change your posture in a compact cabin.
Remember that the cover will compress the cushion. Thick leather, piping and tight seams can make a seat feel firmer than the bare foam suggests. Temporary calico or an inexpensive fabric cover can provide a useful trial fit before you commit to the finished material. If other people regularly drive the car, ask them to test it as well. A supportive shape for one height may put uncomfortable pressure behind another driver’s knees.
Think about durability and safety
Seats experience heat, moisture, and repeated compression, so use foam intended for upholstery rather than packaging or general craft materials. Check the supplier’s care details and confirm that every component suits its intended setting. UK guidance on furniture fire safety also provides useful background on foam and covering materials, although requirements can vary depending on the application.
Avoid sealing damp foam beneath a new cover. Deal with water leaks and let the frame dry fully first. Once installed, inspect the seat after the first few drives. A newly assembled cushion may settle slightly, but obvious hollows, shifting layers or strained seams need prompt attention before they become permanent.
Finish with a proper test drive
Refit the seat securely and begin with a short drive on familiar roads. Pay attention to pressure beneath your thighs, lower back support, and any tendency to slide forwards. Small adjustments are easier at this stage, particularly if the cover uses removable clips or hog rings.
A final check after 50 to 100 miles will show how the foam behaves once it has settled. If your posture remains natural and the cover follows the original contours without wrinkles, the work has achieved more than a cosmetic refresh. You’ll have a classic seat that looks correct and remains comfortable well beyond the next Sunday run.
This is a Take to the Road Collaborated Post
